
A lot of nail girls have been seeing the NailHugs sponsored ads on Facebook lately. They definitely had me intrigued so I decided to order a pack and give them a try. Let’s see how it went…


NailHugs statement from their website, and on the packaging itself:
“NailHugs are not stickers, decals or foils. NailHugs are new and unique, Non-Toxic transfers that rely on the latest techonology. They’re so thin and flexible that they hug the surface of the nail like a second skin whatever the shape, length or curve. Nothing like you’ve tried before.”
The pack (priced at $9.25 USD) came with an instruction card, 2 sheets of decals and an orange wood stick.


On the back of each sheet of NailHugs they have a handy guide for the cut out for each individual nail.
NailHugs states:
“One strip can easily cover 10 fingernails and 10 toes with just one sheet. Should you prefer to use them as accent nails, you can cover up to 20 accent nails with just one strip.”
Well I knew immediately that would not be the case with me. The cut out guides they have are too short to cover my nails, so I had to basically ignore their guides and cut to fit my nails.. being very conservative with what I would need. (To jump ahead a bit; one sheet covered 4 nails.)
Instructions for use (from the NailHugs website, and in the packaging):
Nails must be dry and free of oil and debris.
- Apply regular polish or UV polish and remove tacky layer before applying the NailHugs making sure surface is totally dry.
- Cut a square piece of NailHugs to fit the entire surface of the nail including excess (bleed). No need for cuticle precision at all.
- Remove white protective sheet and apply the design face to face with the nail to secure application.
- With the help of your thumb, rub the entire surface of the nail starting at the cuticle area coming towards the free edge making sure all surrounding edges are well covered including latteral sides. Clear sheet will release itself naturally.
- With the help of your small wood stick or a slim stylus, gently separate the NailHugs from the surrounding edges to ease the application of your top coat and promote longer lasting results.
- Apply a regular or UV top coat of your choice and remove tacky layer once dried or cured including all the excess and/or bleed on skin. Use the cleanser that is compatible to the top coat that was used to cover the NailHugs. If you’re using a regular top coat, wait until it’s entirely dry and remove the excess by wiping the surface and skin with the same cleanser or alcohol 99%.
For longer lasting results and better protection, apply a second top coat.
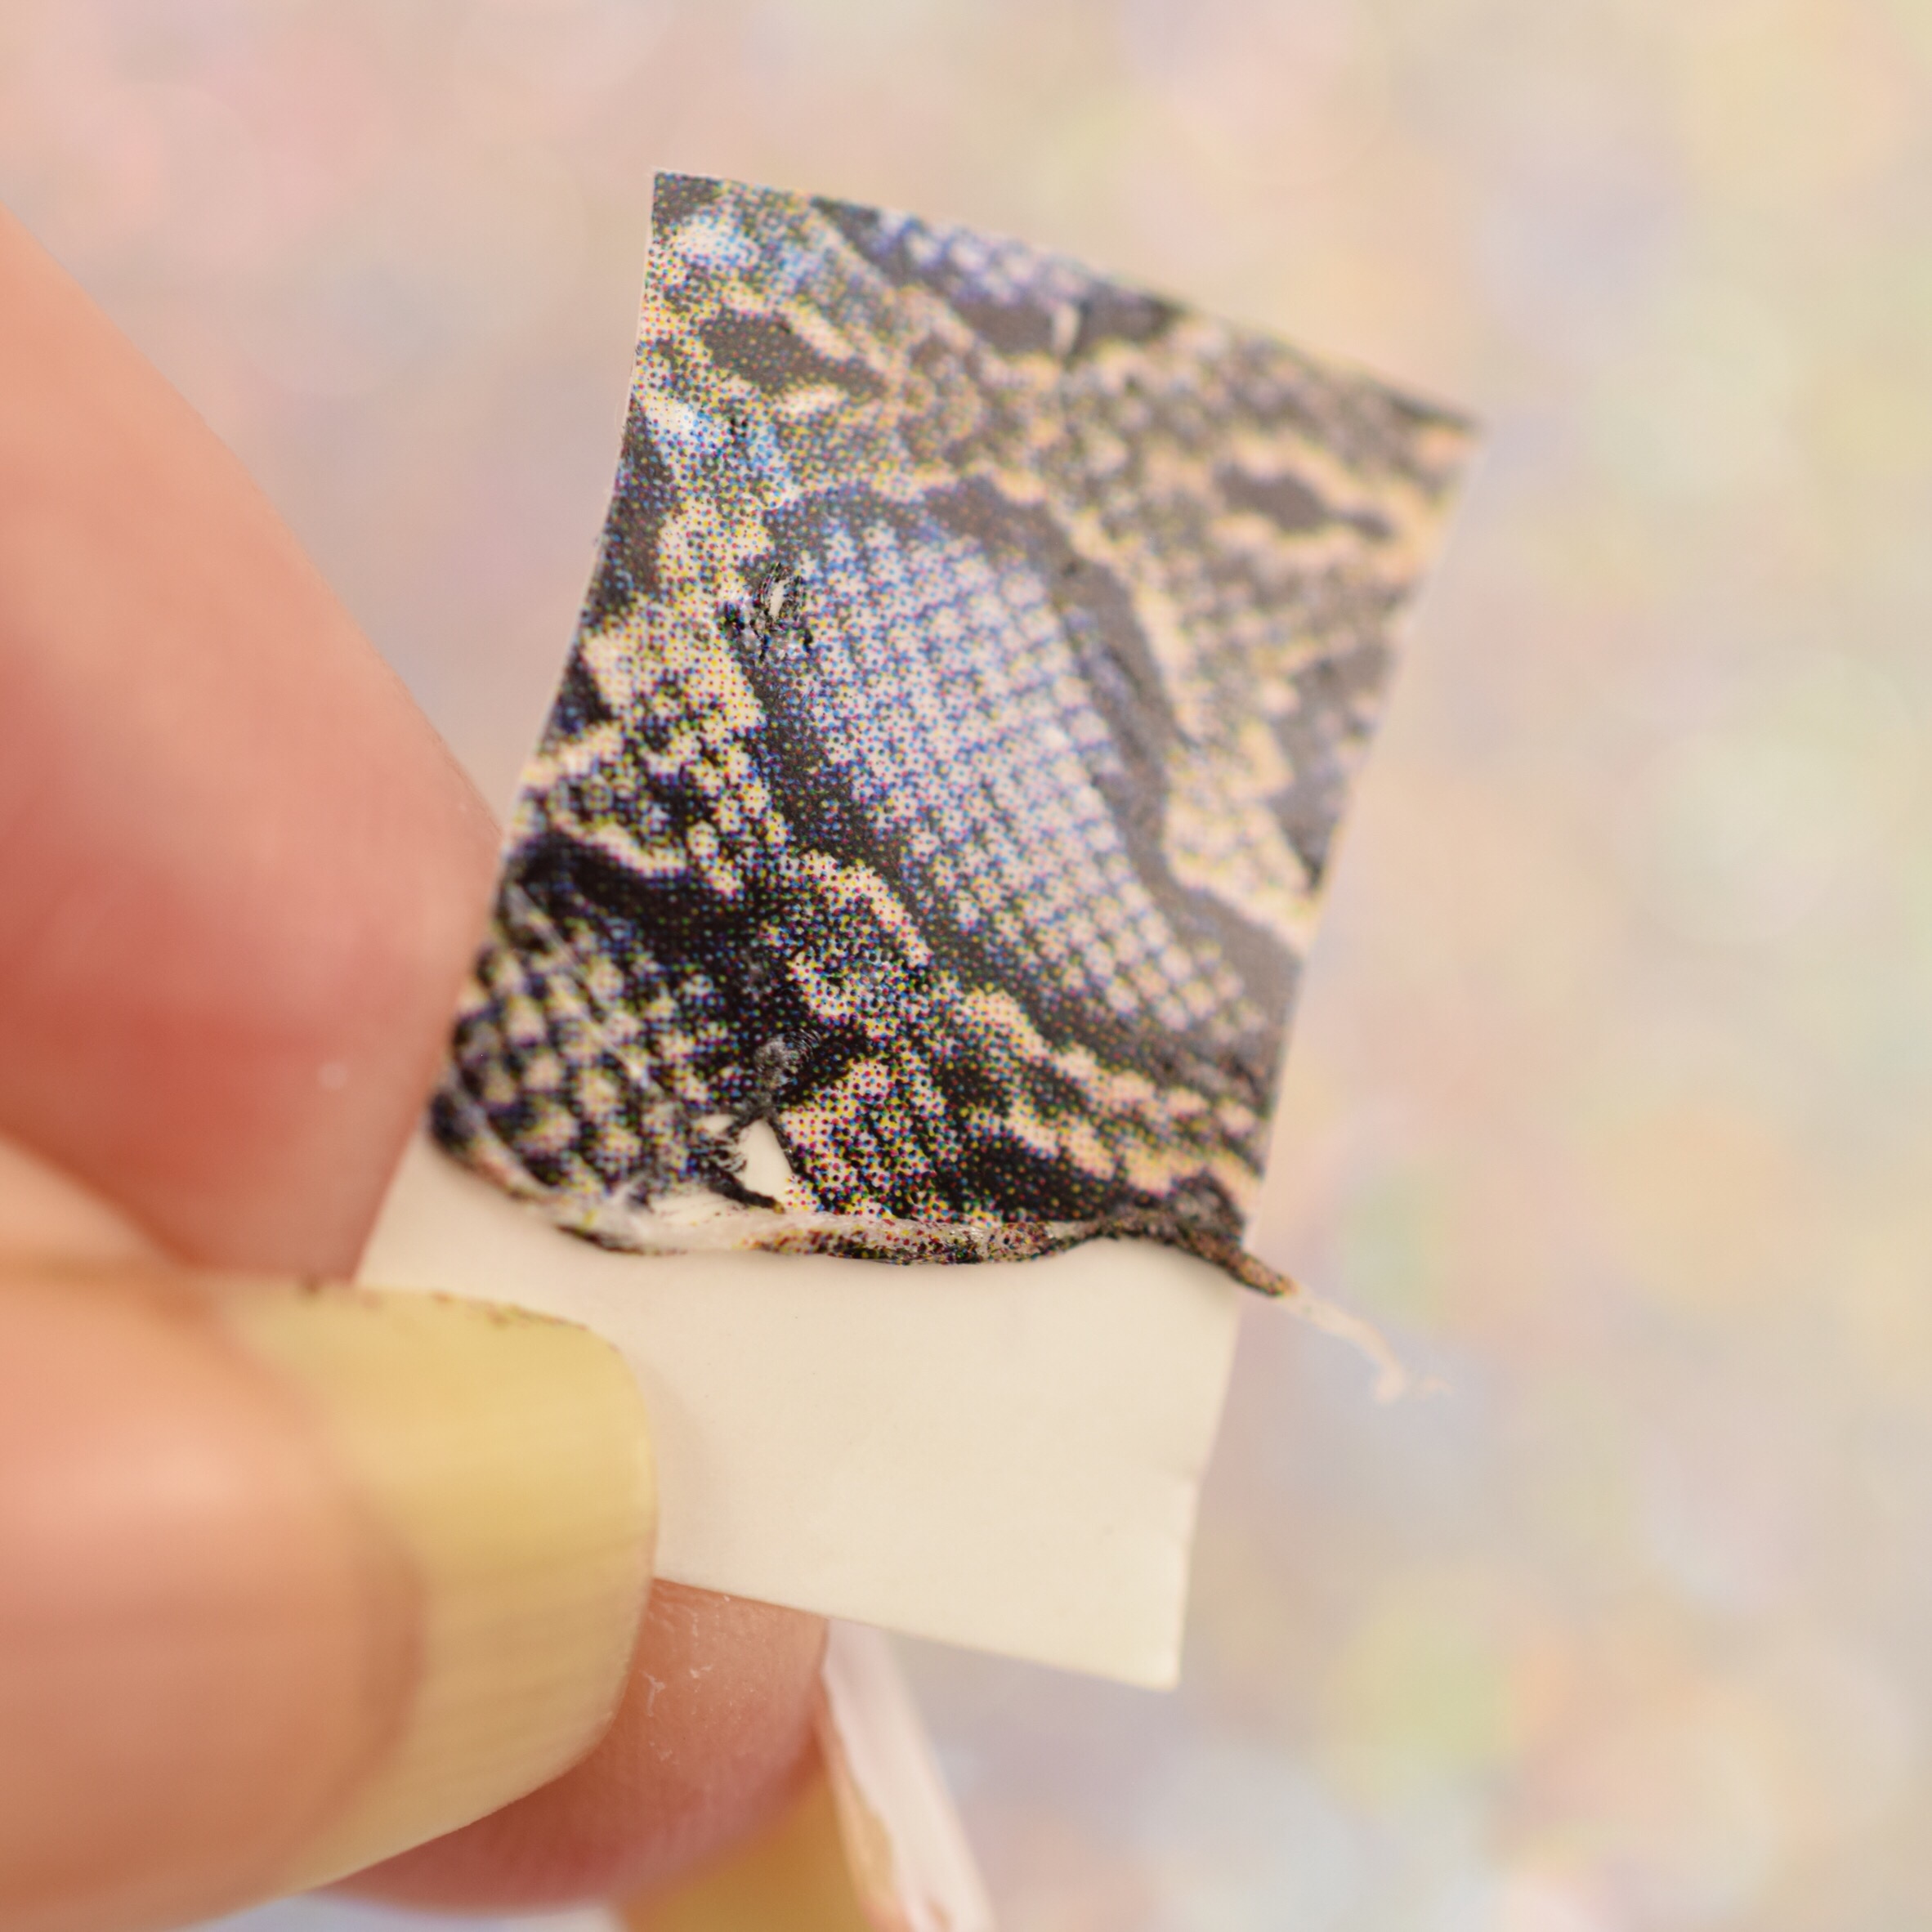
The best way I can describe NailHugs is kind of like a cross between a sticker type wrap and a water decal (but you don’t use water on these!). The decal part is basically sandwhiched between the white backing and a clear cover sheet (much like water decals). To apply you gently pull the white backing off and the sticky decal part is left on the clear cover sheet. Or thats the idea at least, but it didn’t always work that way.
Sometimes they worked exactly as described with no problems. The rest of the time I encountered 3 basic problems. Since the decal part is very sticky it tends to have a mind of its own.


I was however able to get a full mani done (a full mani in blogger terms is actually 4 nails!) I used 90% of one sheet to do 4 nails, figuring in the various issues I ran into it. Their claims of one sheet “easily” covering 20 nails is *only* if your nails are quite small, fit within their guide, and you have zero application issues. When I was done I had a small strip left over, which wasn’t wide enough to even cover one more pinky nail.
The other claim I wanted to address:
“They fit any length, shape or curve without leaving air bubbles or folds.”
Since they are so thin and sticky they do not leave air bubbles; however I found that even the slightest movement will cause the sticky decal to rip or fold over on itself. If you look closely at my mani you can see white spots or lines, that is where the decal ripped. I also ended up with folds at the base of at least 2 of my nails.


In conclusion:
I found these difficult to work with, and the finished result was not worth the extra effort. NailHugs makes a lot of claims about the product, many of which I found to not hold any water. They do have a lot of unique designs, which is a plus but at $9.25 per pack they actually end up being a very expensive mani particularly if your nails don’t fit within their guide. They are different than anything else I’ve tried but I didn’t find that to be a plus. I would not reach for them again, there are just too many other options that I find to be easier and/or less expensive.
I hope you have found this review helpful! Use the links below for more information on NailHugs.
NailHugs: Website ~ Facebook ~ Instagram
Until next time, stay polished!
